Health & Fitness
BLOG: Baking With Mama Cocoa!
A reader asked me to post my red velvet recipe. Not only am I going to give you my red velvet recipe, I'm going to tell you everything I know about red velvet. And how it helped change my life.
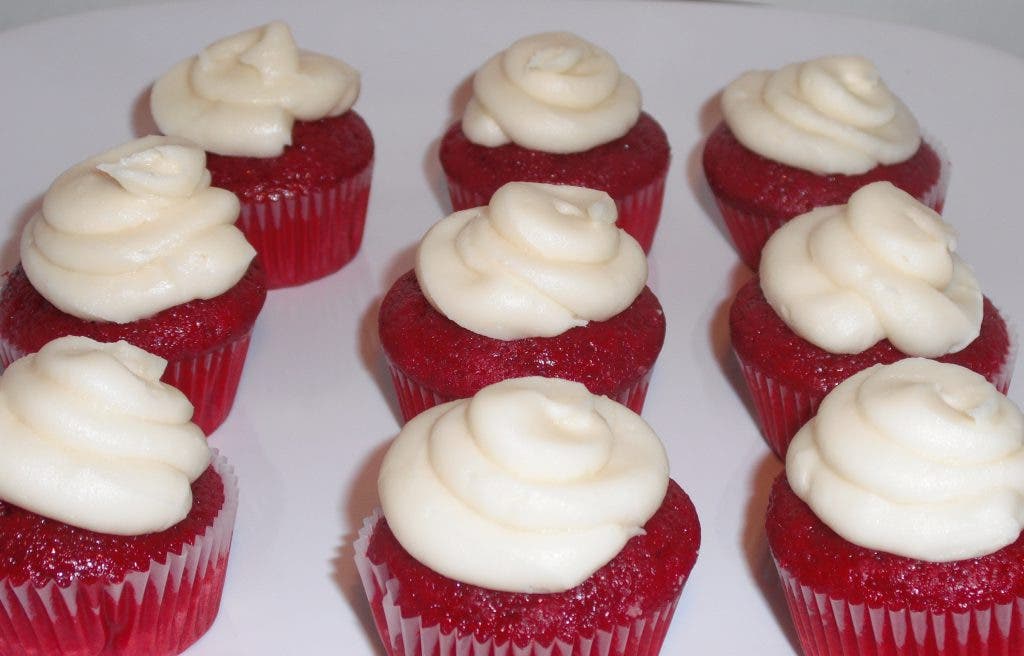
Red Velvet Cake: A Study
My last blog inspired a reader and dear friend to ask me to post my red velvet cake recipe online. I’ve gotten this request before and honestly I’ve always ignored it. I usually tell the person to look it up online cause there are a ton of recipes there. But recently I’ve had a change of heart, or l’ve lost my mind. Not really sure which is true. So here you go! Not only am I going to give you my red velvet recipe, I’m going to tell you everything I know about red velvet. The recipe, it’s ingredients and how it helped change my life.
Long ago in a land far, far away I, Mama Cocoa, was a student at Tuskegee University (TU!!!!!!!!). Being an Army brat planted in Maryland; Tuskegee and Alabama, were strange and wonderful new lands. One day the mother of a classmate brought us some cake. This cake, red velvet was not like any other cake I had ever had before. It had this flavor that I couldn’t describe but I loved it. I really, really loved it. Fast forward a couple of years and I live in New York. I couldn’t find this cake anywhere. Southern restaurants didn’t have it on the menu, and I couldn’t find it in cook books either. This cake suddenly became a quest for me. I started combing cookbooks for the recipe and making batch after batch just to see if I could match the cake in my memory. Unbeknownst to me this is the beginning of my path to becoming a pastry chef. My obsession with red velvet started my pastry studies. It set the foundation for my obsession with creating other amazing sweets.
Find out what's happening in Bowiewith free, real-time updates from Patch.
After years of searching and tweaking red velvet became my signature cake. Every Chef has a couple of signature dishes. As a Pastry Chef I have a signature cake, a signature cookie, my chocolate dream cookies, and a signature candy, my buttery toffee. Your signature dishes are recipes you know inside out. I am so confident in this recipe that once I made a red velvet cake for a job interview. And yep, I got the job.
So now you know my red velvet story, let’s get you started on yours.
Find out what's happening in Bowiewith free, real-time updates from Patch.
Mama Cocoa
Red Velvet Cake
Shift to combine in a bowl
2 &1/2 cups flour-- When making red velvet I prefer to use all purpose flour instead of cake flour. I find that I like the texture of the a.p. flour better. This is a personal preference, try it both ways to see which one you prefer.
1 tsp Baking soda
1 tsp salt-- When baking use table salt unless the recipe calls for Kosher salt
1 tsp Cocoa powder-- Okay this is my biggest issue with most red velvet cakes. Red velvet should NOT be a chocolate cake dyed red!!!!! Let me say that again, red velvet should NOT be a chocolate cake dyed red!!!!! If the recipe you are using calls for more than a tablespoon of cocoa powder then it is a chocolate cake dyed red. Cocoa powder in this recipe is not used as the primary flavor of the cake. In this recipe cocoa powder’s primary job is the help with the color of the cake. Yes, it adds some flavor but very little.
In a mixing bowl beat together
1 &1/2 cups of sugar
1 &1/2 cups of oil-- Veggie or canola
One at a time add
2 large eggs
Blend well after each egg. The turn you mixer off and give the bowl a good scraping with your rubber spatula. Make sure you are moving the batter stuck to the bottom of the mixing bowl. Turn your mixer back on and continue by adding
2 ounces of red food coloring-- If you are buying the little bottles at the grocery store this will be 2, one ounce bottles. If you have the larger size food coloring bottles (you can get them at the Amish markets) measure out 2 ounces. Make sure you are using liquid food color do not use the gel colors. This is important. The red color is a critical element of this cake, and not just for adding color. The red dye also adds liquid to the batter. And as much as I hate to say it the red dye also adds to the flavor of the cake. Trust me it is not going to taste the same with out it.
Beat into the batter
1 tsp vanilla
1 tsp vinegar-- Yep vinegar. Try to stick with white vinegar, so the acid levels are not thrown off.
Again- - The turn you mixer off and give the bowl a good scraping with your rubber spatula. Make sure you are moving the batter stuck to the bottom of the mixing bowl. Turn your mixer back on and continue.
Now alternate adding the flour mixture with
1 cup of buttermilk-- When alternating dry and wet you always want to do it in three parts. Always starting and ending with dry. So it’s dry, wet, dry, wet, and dry. Turn off the mixer and give the batter one last good scrape and you are ready to go.
So let’s talk about getting the pans ready and the batter into the pans. This recipe makes 2 nine inch round pans or 1 completed 9” cake. I’ll be honest I hate buttering and flouring a pan. I think it’s a waste and I don’t like the idea of adding flour to my already complete batters. So I spray my pans with pan spray and cut out parchment rounds to line the bottom of the pan. Then I spray the parchment. Voila! No muss no fuss! (side note: What’s a muss?)
So now that our pans are ready how do we get the batter into the pan? “Well Duh Mama Cocoa you just pour it in!” Actually let’s not. Instead pull out that ice cream scoop and let’s scoop the batter into each pan. Why? Well it helps you make two even layers. And it helps to minimize the hump. When you pour batter into the center of the pan you are more likely to end up with a big hump in the middle of the finished cake. If you scoop the batter into the pan, making sure not to scoop all of the batter in the middle, you will help minimize the hump.
Bake the cake at 320-325 for about 30-35 minutes or until done.
Wow! That was a lot of information. I hope it helps.
Red velvet is traditionally iced with cream cheese icing. If you want to try something different try it with a white chocolate icing. Here is my cream cheese icing recipe if you need it.
Cream Cheese Icing
8 ounces soft cream cheese
8 ounces soft butter (two sticks)
1 Tbs vanilla
1 16 ounce bag of powdered sugar
Beat together butter, cream cheese and vanilla. Once combined well (remember to scrape) slowly beat in powdered sugar.